2024-1-10 16:45:50 Author: blogs.sap.com(查看原文) 阅读量:11 收藏
Introduction:
In this blog post you will understand:
Contents at a Glance
- Developing and Deploying a List Report (BAS & WEBIDE)
- CDS View Entity with metadata Definition
- Publishing and Activation of OData Service
- Create ,Preview and Deploy a list report project in WEBIDE
- Create ,Preview and Deploy a list report project in BAS
- Enabling CRUDQ operations using Annotations
- Enabling Multi Selection and Mass Editing Functionalities
Ultimate Goal: Mass Editing of Table entries in Fiori List report for a single data source.
Prerequisite:
- SAP BAS / WEBIDE installed on your BTP account with Fiori tools installed in your Dev space.
- S4HANA on-premise system you can connect to via https://blogs.sap.com/2020/09/17/how-sap-cloud-connector-works/
- Eclipse ADT https://tools.hana.ondemand.com/
1.Developing and Deploying a List Report (BAS & WEBIDE)
1.1 CDS View Entity with metadata Definition
In Eclipse ADT,
Right click on the package
New -> Other ABAP Repository Object

- In the Wizard Select Data Definition and click Next.
- Now, Provide the Prompted View details and Click Next.
- Select View Entity from the Template and Click on Finish.


Table for which the CRUDQ is to be performed “YTABLE”

Below is the Code that fetches the value from the Data Source (CDS-Data Definition)
@AbapCatalog.viewEnhancementCategory: [#NONE]
@AccessControl.authorizationCheck: #NOT_REQUIRED
@EndUserText.label: 'CRUDQ Using Fiori Elements'
@Metadata.ignorePropagatedAnnotations: true
@ObjectModel.usageType:{
    serviceQuality: #X,
    sizeCategory: #S,
    dataClass: #MIXED
}
define view entity YV_TABLE_CRUDQ
  as select from ytable
{
  key field1,
      field2,
      field3,
      field4,
      field5
}
Now Save (Ctrl + S), Check (Ctrl+F2) and Activate (Ctrl + F3).
Execute(F8) the CDS to preview the data.

Now the CDS can be published and Activated as OData Service but the Result in the List report will not be User-Friendly without the UI Definition.
This is where UI Annotations plays a key role.
Metadata Extension
What is Metadata Extensions?
A CDS metadata extension (MDE) extends a CDS entity with CDS annotations that are not specified in the DDL source code of the data definition.
CDS metadata extensions can currently only be created for CDS views.
Adding Annotations to the View using Metadata Extension.
Right click on the package
New -> Other ABAP Repository Object
- In the Wizard Select Metadata Extension and click Next.
- Now, Provide the Prompted details and Click Next.
- Select Annotate View from the Template and Click on Finish.


Once the Metadata Extension is created, the below error message is Expected.
Annotation ‘Metadata.allowExtensions’ missing in ‘YV_TABLE_CRUDQ’
In order to overcome this error, add the annotation “@Metadata.allowExtensions: true” in the CDS View.
Once the error is rectified come back to Metadata Extension. Below is the metadata Extension Code.
@Metadata.layer: #PARTNER
@UI.headerInfo: {typeName: 'Entry', typeNamePlural: 'Entries', title: {label: 'Happy Learning'}}
annotate view YV_TABLE_CRUDQ with
{


  @EndUserText.label: '1st Field'
  @UI: {
      selectionField: [{ position: 10 }],
      lineItem: [{ position: 10}, { cssDefault.width: '8rem' } ],
      identification: [{position: 10}]
  }
  field1;
  @EndUserText.label: '2nd Field'
  @UI: {
      selectionField: [{ position: 20 }],
      lineItem: [{ position: 20}, { cssDefault.width: '8rem' } ],
      identification: [{position: 20}]
  }
  field2;

  @EndUserText.label: '3rd Field'
  @UI: {
      lineItem: [{ position: 30}, { cssDefault.width: '8rem' } ],
      identification: [{position: 30}]
  }
  field3;

  @EndUserText.label: '4th Field'
  @UI: {

      lineItem: [{ position: 40}, { cssDefault.width: '8rem' } ],
      identification: [{position: 40}]
  }
  field4;

  @EndUserText.label: '5th Field'
  @UI: {

      lineItem: [{ position: 50}, { cssDefault.width: '8rem' } ],
      identification: [{position: 50}]
  }
  field5;


}
Annotation Explanation:
- @UI.headerInfo – Defines the Header value and no.of Entries fetched.
- @EndUserText.label – End-user Label (Field name that is displayed in the Application)
- @UI: {
- selectionField: [{ position: 10 }], – Defines the Field as Input
- lineItem: [{ position: 10}, – Defines the Column in the List report
- { cssDefault.width: ‘8rem’ } ], – Defines the Width of the Column
- identification: [{position: 10}] – Defines the position in the Object page
- }
Once the Metadata Extension is done Save and Activate it.
1.2.Publishing and Activation of OData Service
@OData.publish: trueAdding this annotation will publish the OData automatically, once the View is Saved and Activated.
Note: The Service name will be same as the View name with the suffix “_CDS”.
In this case “YV_TABLE_CRUDQ_CDS”
Once all the annotations are done the code will look like Below⇓ (List Report)
//Data Definition
@AbapCatalog.viewEnhancementCategory: [#NONE]
@AccessControl.authorizationCheck: #NOT_REQUIRED
@EndUserText.label: 'CRUDQ Using Fiori Elements'
@Metadata.ignorePropagatedAnnotations: true
@Metadata.allowExtensions: true
@ObjectModel.usageType:{
    serviceQuality: #X,
    sizeCategory: #S,
    dataClass: #MIXED
}

@OData.publish: true

define view entity YV_TABLE_CRUDQ
  as select from ytable
{
  key field1,
      field2,
      field3,
      field4,
      field5
}


_______________________________________________________________________________________________________
// Metadata Extension
@Metadata.layer: #PARTNER
@UI.headerInfo: {typeName: 'Entry', typeNamePlural: 'Entries', title: {label: 'Happy Learning'}}
annotate view YV_TABLE_CRUDQ with
{


  @EndUserText.label: '1st Field'
  @UI: {
      selectionField: [{ position: 10 }],
      lineItem: [{ position: 10}, { cssDefault.width: '8rem' } ],
      identification: [{position: 10}]
  }
  field1;
  @EndUserText.label: '2nd Field'
  @UI: {
      selectionField: [{ position: 20 }],
      lineItem: [{ position: 20}, { cssDefault.width: '8rem' } ],
      identification: [{position: 20}]
  }
  field2;

  @EndUserText.label: '3rd Field'
  @UI: {
      lineItem: [{ position: 30}, { cssDefault.width: '8rem' } ],
      identification: [{position: 30}]
  }
  field3;

  @EndUserText.label: '4th Field'
  @UI: {

      lineItem: [{ position: 40}, { cssDefault.width: '8rem' } ],
      identification: [{position: 40}]
  }
  field4;

  @EndUserText.label: '5th Field'
  @UI: {

      lineItem: [{ position: 50}, { cssDefault.width: '8rem' } ],
      identification: [{position: 50}]
  }
  field5;
}
Activation of the Service.
Logon to you SAP system.
TCODE: /n/iwfnd/maint_service
- Go to “Add Service”

- Provide the Alias, Service Name and Press Enter
- Select the Line item and Click on Add Selected Service

- In the Wizard, provide the Package Details and Continue
- The Service can be tested in the gateway client if Required.

1.3 Create, Preview and Deploy a list report project in WEBIDE
Logon to BTP Account and go to WEBIDE Service
File->New->Project from Template

Select List Report Application and click on Next
( If List Report Application is not displayed, alter the category as SAP Fiori Elements or try Changing the filter conditions)

Project Details
Data Connection – Binding your Service to the Application

Annotation Selection

Entity Set Selection

Confirmation

Once the Project is created, Run the Application.
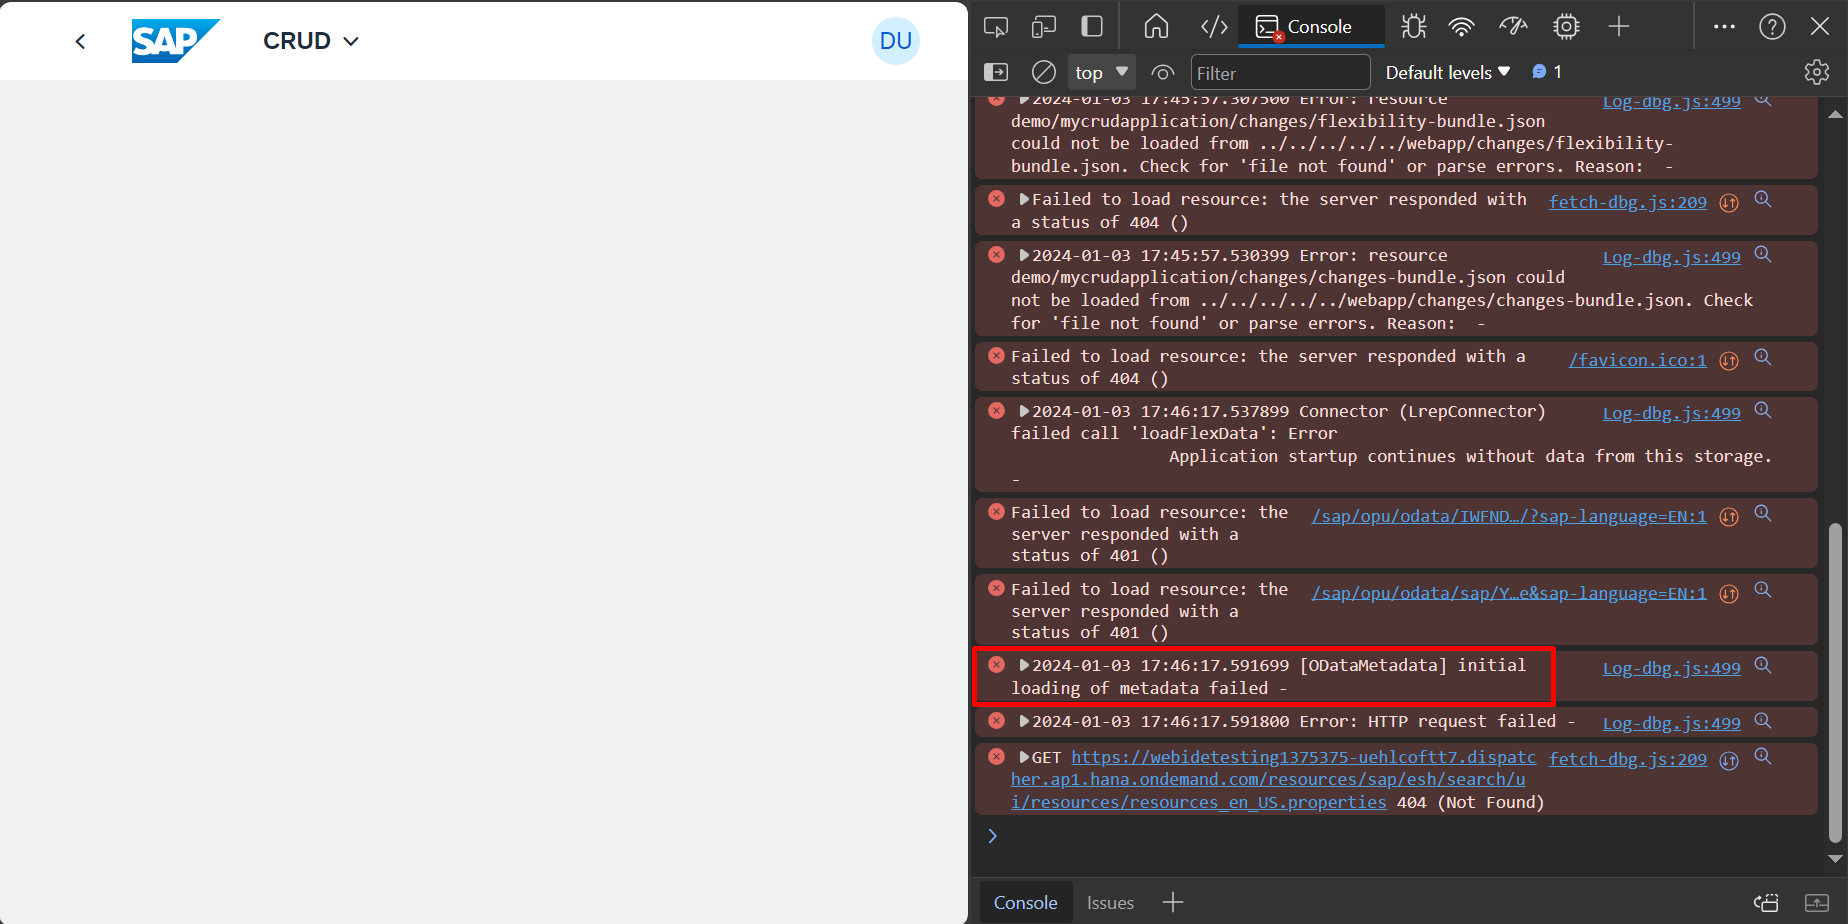
If you encounter metadata failed error. Then Do as stated below.

Replace the Metadata URL Param SAP-VALUE-LIST as “all” from “none” in MANIFEST.JSON from your Application under webapp.
This Step is recommended to do,
"metadataUrlParams": {
						"sap-value-list": "all"
					}
Now try to Run your Application.
Application Preview:

Tip: The Table Type can be changed in MANIFEST.JSON
“settings”: { “tableSettings”: { “type”: “GridTable” }
Table types Available:
ResponsiveTable (default)
GridTable
AnalyticalTable
TreeTable
Code Snippet on Table type⇓
"sap.ui.generic.app": {
			"pages": [{
				"entitySet": "ZXXXXXXXX",
				"component": {
					"name": "sap.suite.ui.generic.template.ListReport",
					"list": true,
					"settings": {
						"tableSettings": {
							"type": "GridTable"
							}
					}
				},
Now the application is ready to Deploy.
Right click on the Project
Deploy->Deploy to SAP ABAP Repository
Provide the Deployment Details and Finish the Process.
Tile Creation, FLP Configuration and Role creations are to be done Respectively, which is not covered in this Blog.
1.4 Create, Preview and Deploy a List report project in BAS
Logon to BTP and open Business Application Studio (BAS) in Instance and Subscriptions.
The DEV Space should be SAP Fiori

Now, to create a new Project
File->New Project from Template

Select SAP Fiori Application & Start

Select List Report Page & Next.

Data Source and Entity Selection, provide the Prompted values as below and proceed Further.


Now provide the Project Details,
In BAS, we can add Deployment & FLP Configurations as well, during project creation

Deployment Configurations
For Package and TR (Transport Request) details – it can be manually entered.

FLP Configurations
Provide the Tile Details and Click on Finish

Previewing the Application
Once the project is Created.
Right Click on the project and Select Preview Application.
Select Start Fiori Run from the preview options,
If in case you are unable to preview the Application, Select Start-noflp.

Application Preview

Deployment Steps
Right Click on your Project -> Open in Integrated Terminal, then enter the Below command
npm run deploy
Now, it will ask you for the Confirmation with Deployment details, proceed with ‘Y‘

Enter in your S4HANA Credentials and Proceed.
Now you will get the Deployment Success Message
info abap-deploy-task ZBSP_CRUD_CDS Deployment Successful.2.Enabling CRUDQ operations using Annotations
In this we are going to Achieve CRUDQ Using Object Model aka BOPF.
Add the below annotations to your CDS Data Definition (Note: Cannot be done in Metadata Extension)
@ObjectModel:{
modelCategory: #BUSINESS_OBJECT,
compositionRoot: true,
representativeKey: 'field1',
semanticKey: ['field1'],
transactionalProcessingEnabled: true,
writeActivePersistence: 'YTABLE',
// enable crud
createEnabled: true,
updateEnabled: true,
deleteEnabled: true
}
Now add the below ⇓ Annotation in Metadata Extension to Enable Object Page.
@UI.facet: [

                  {
                      label: 'Edit Values',
                      position: 10,
                      type: #COLLECTION,
                      id: 'GeneralInfo'
                  },
                  {
                      label: 'Edit',
                      purpose: #STANDARD,
                      position: 10,
                      type: #IDENTIFICATION_REFERENCE,
                      parentId: 'GeneralInfo'
                  }
              ]
Boom !!!, Now the CRUDQ functionality is enabled in the Application
Preview:


3.Enabling Multi Selection and Mass Editing Functionalities
Now we are going to achieve Multiple Selection and Mass editing
In MANIFEST.JSON add the below snippets for respective functionalities
"tableSettings": {
   "multiSelect": true,
   "multiEdit": { "enabled" : true }
},
Code Snippet on Multi Selection and Mass Editing ⇓
"sap.ui.generic.app": {
			"pages": [{
				"entitySet": "ZXXXXXXXX",
				"component": {
					"name": "sap.suite.ui.generic.template.ListReport",
					"list": true,
					"settings": {
						"tableSettings": {
							 "multiSelect": true,
                                                         "multiEdit": { "enabled" : true }
							}
					}
				},
Preview :
Note: Mass edit with Dialog work only with Responsive Table Type

Mass Edit with Dialog:

To understand how Mass Edit with Dialog works and guidelines follow this link:
https://experience.sap.com/fiori-design-web/mass-editing/
Conclusion:
From this Blog we can understand:
How a List Report is built and deployed, How CRUDQ functionalities are enabled with Multi Selection and Mass Edit in a single shot.
“Programming is not about what we know, its about what we can solve”
Regards,
Styles
如有侵权请联系:admin#unsafe.sh