介绍
前面尝试了注入so来hook native层,也尝试了能否进行java层hook,结果并不理想。
这里为了尝试打印一个参数RSA加密的强加固APP的明文参数,尝试修改ART,打印smali指令,带出明文字符串。
源码分析
方法执行流程
查看源码分析执行流程,比较枯燥比较绕,我也只是看了个大概。
从invoke开始,这是一个native方法。
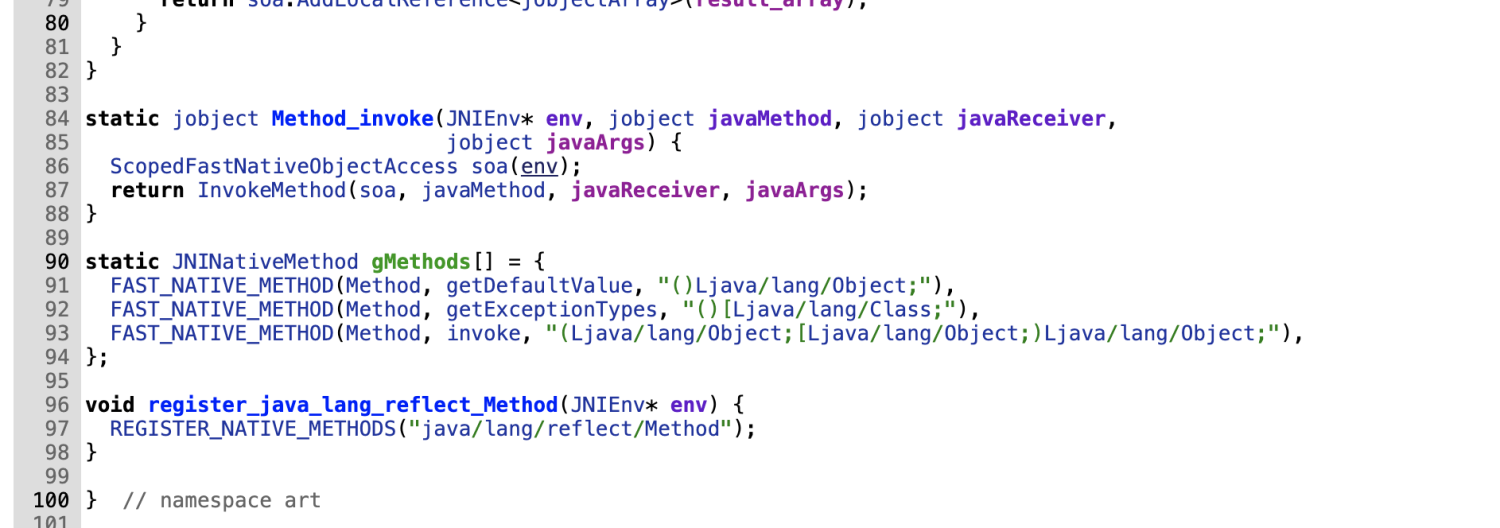
在源码/art/runtime/native/java_lang_reflect_Method.cc中,可以看到invoke调用了InvokeMethod方法
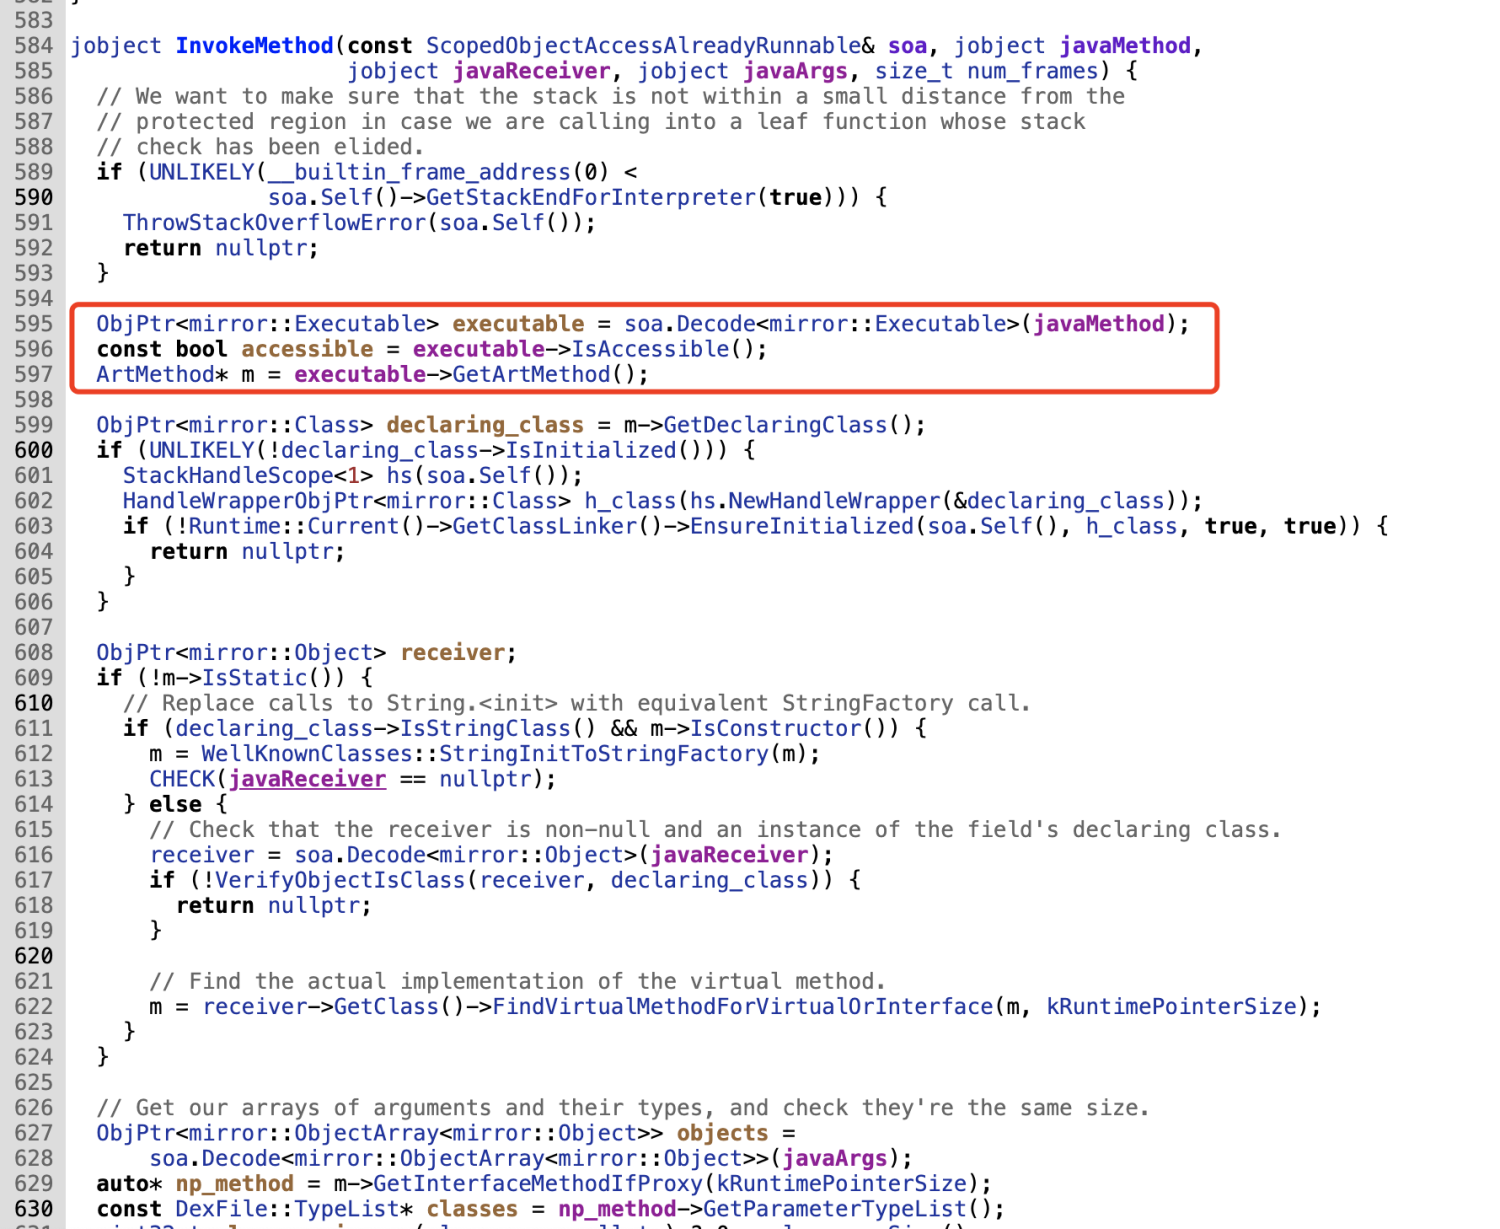
跟进查看,这里可以看到将javaMethod转换为了ArtMethod。
往下看,发现在InvokeWithArgArray传入了ArtMethod。
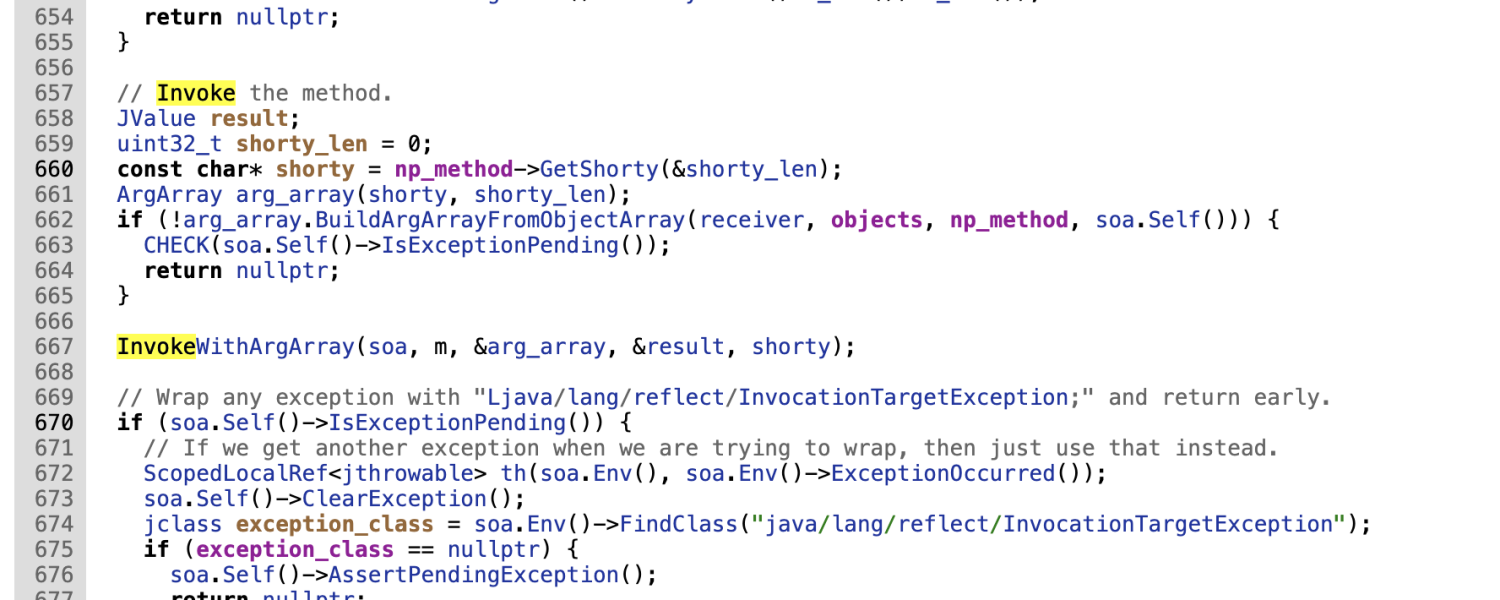
最后调用Invoke方法执行,另一个通过Jni的CallVoidMethod系列的方式去调用,同样最后也是走到这里。

解释流程
继续跟进Invoke方法分析解释流程,到art_method.cc下。
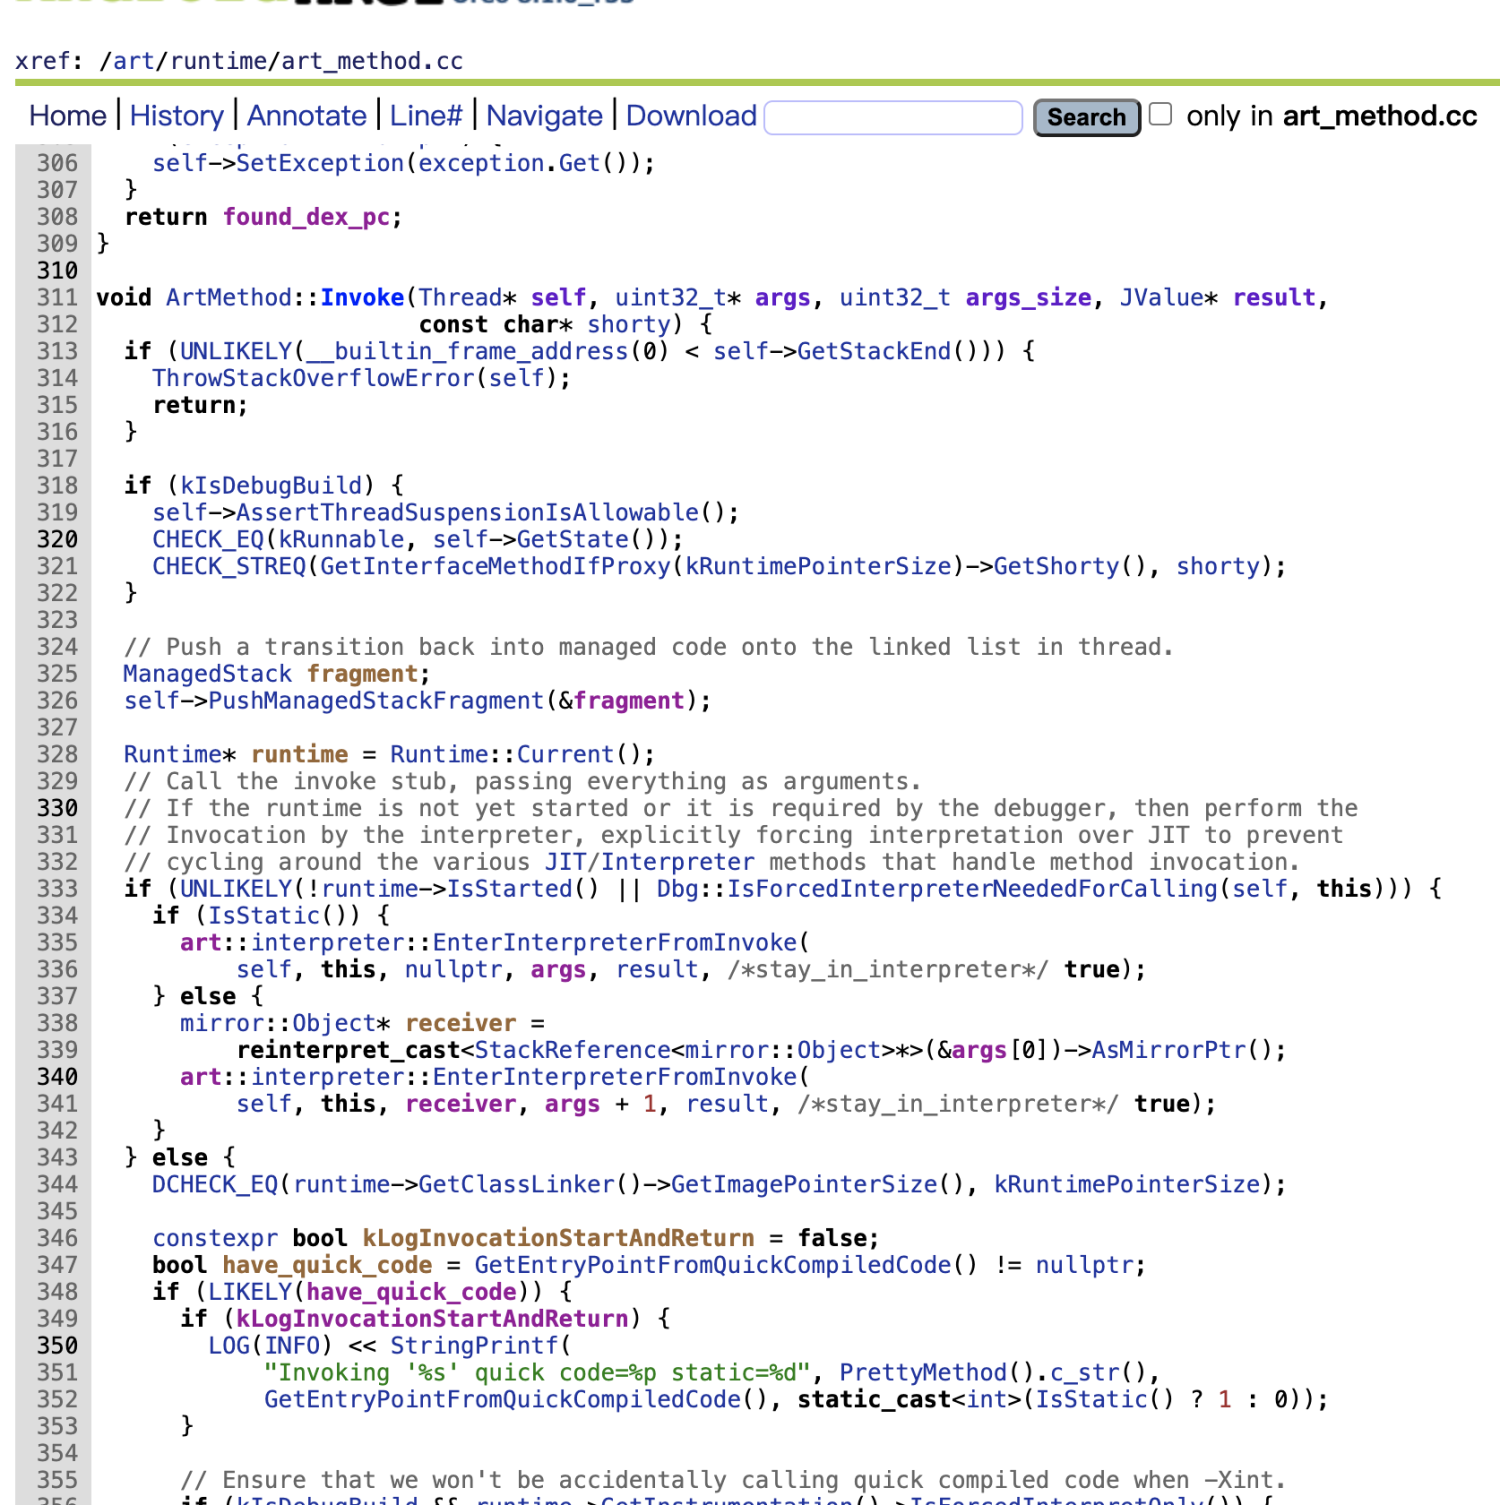
可以看到有一处判断是否走解释模式。
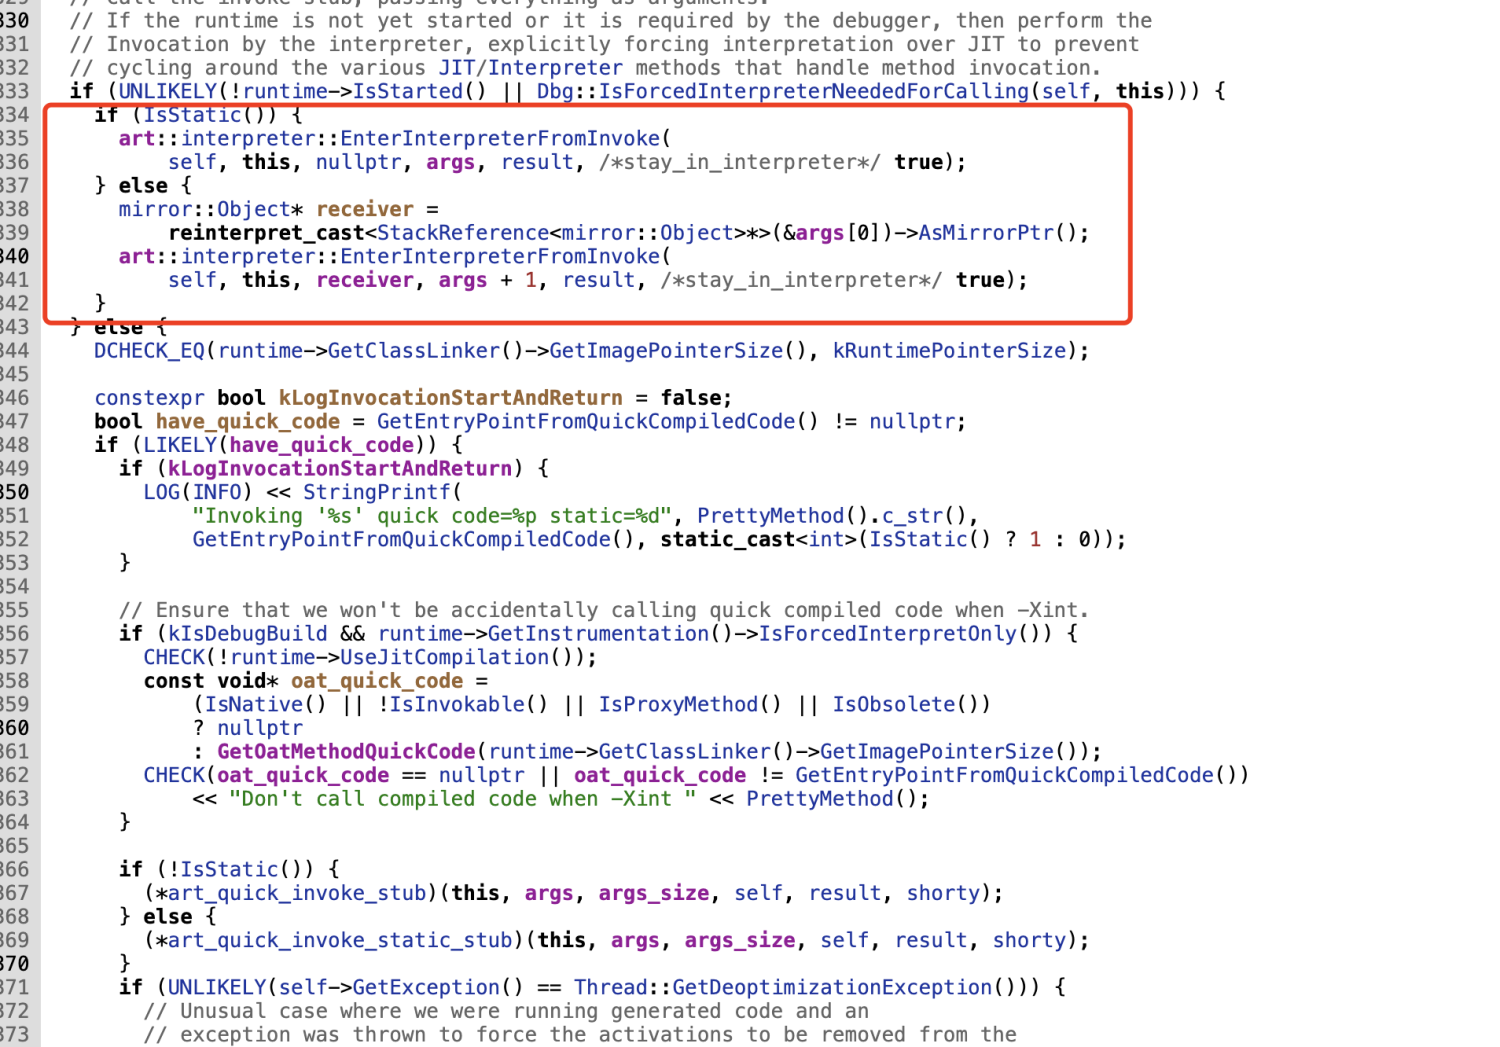
跟进查看。
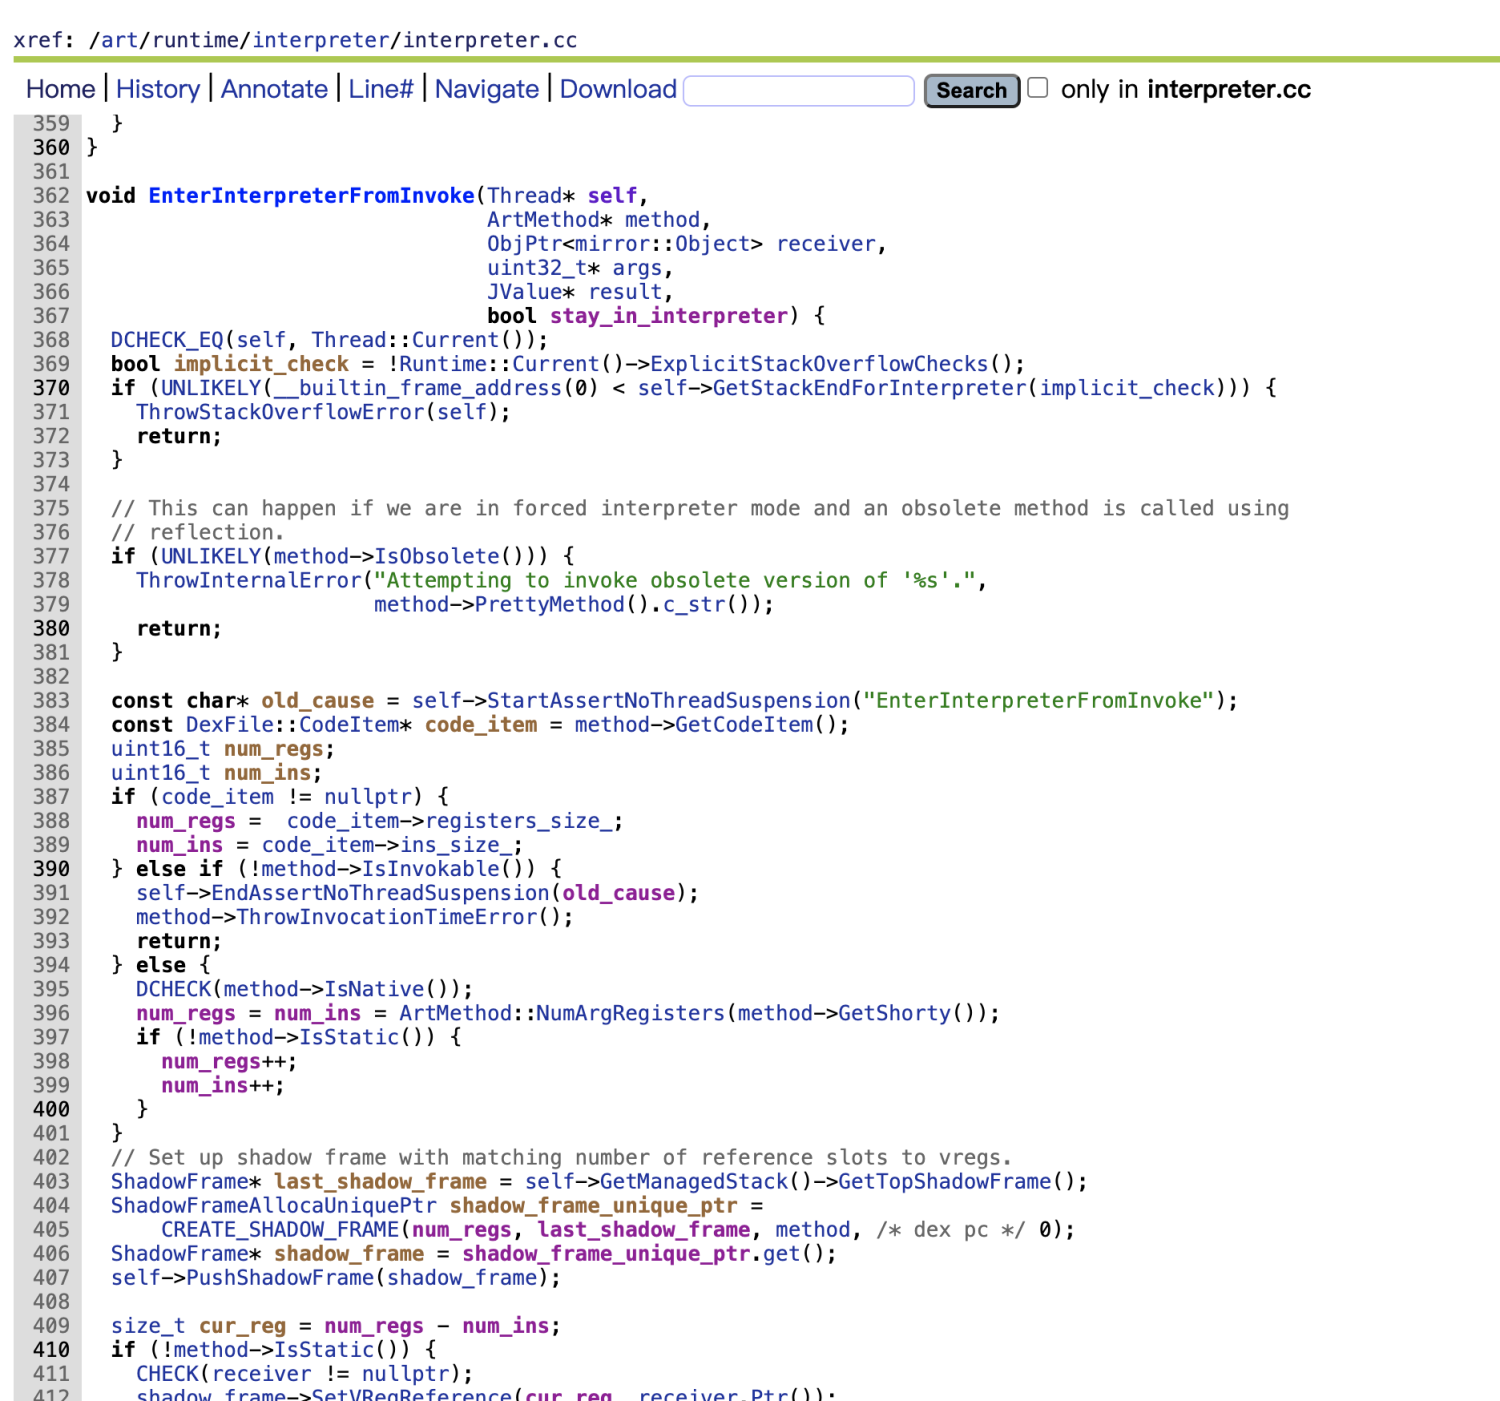
往下有一处判断,当不是Native时,走Execute方法。

Execute方法中存在一个判断,走switch还是汇编。
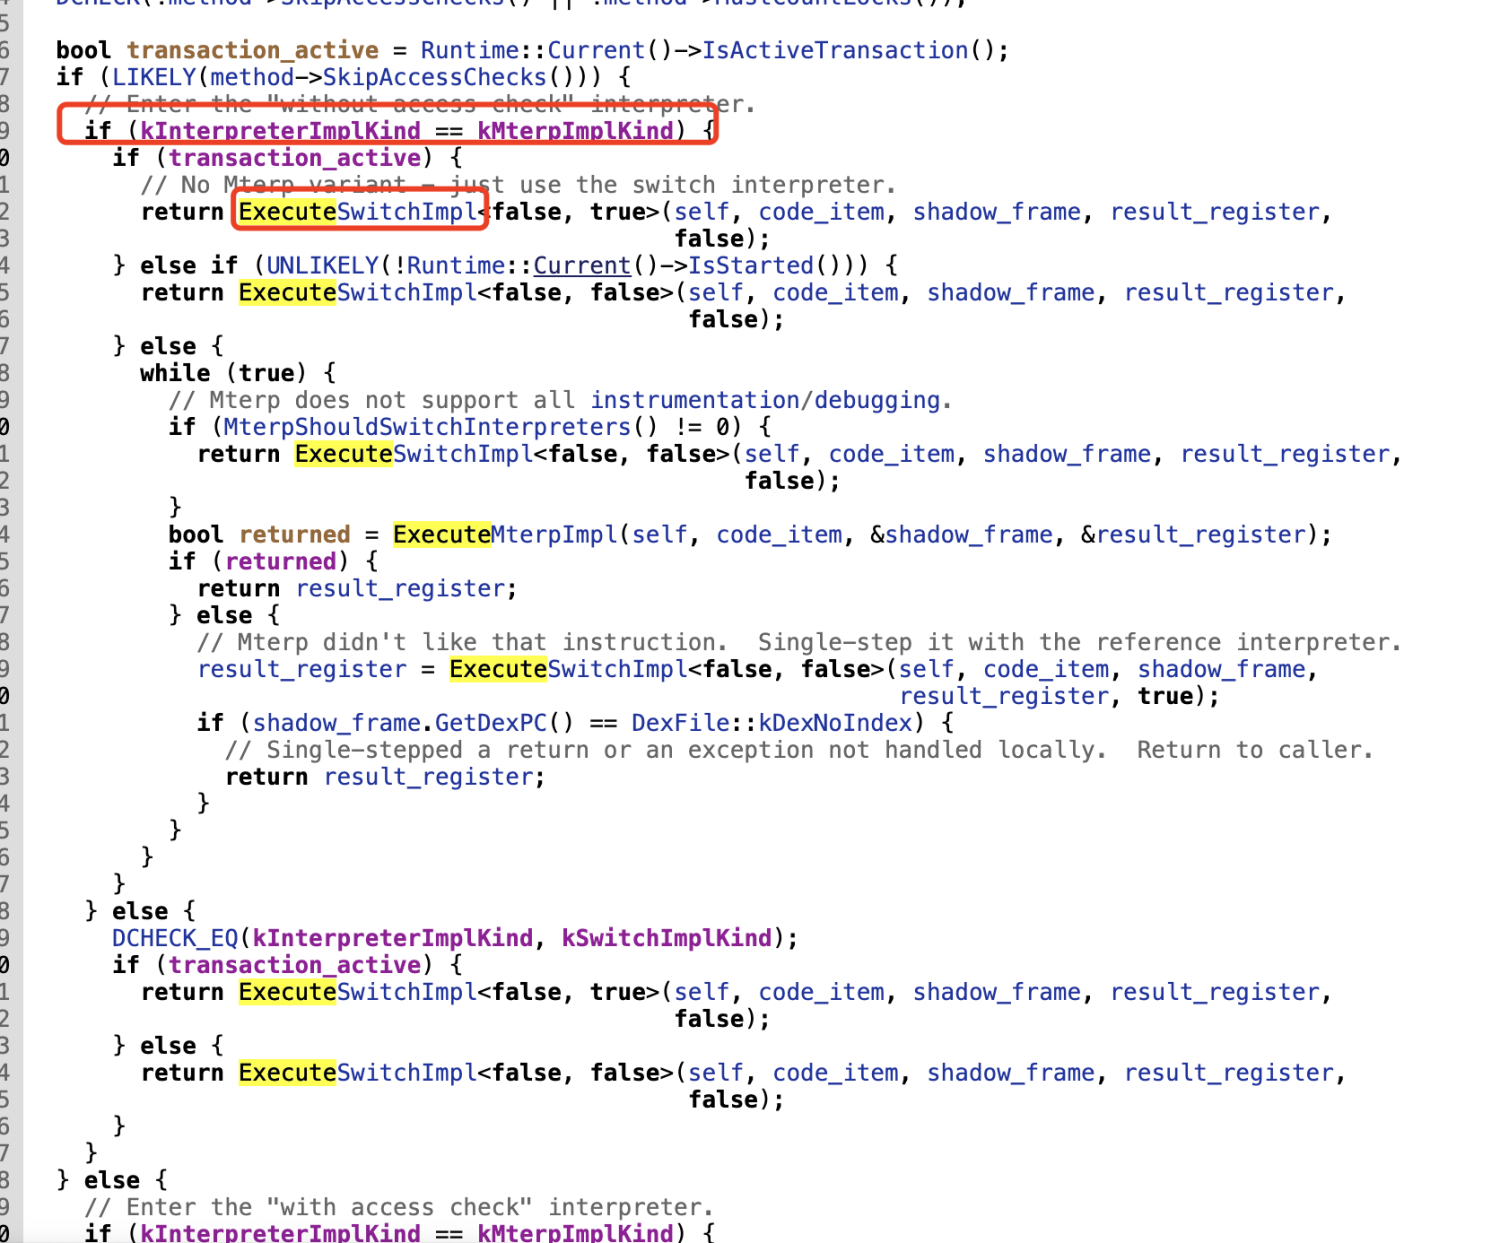

我们希望是走switch模式的,跟进ExecuteSwitchImpl,这里获取指令等,关键就在这里了,这里还给出了一个他自己带的TraceExecution,可以用来追踪。
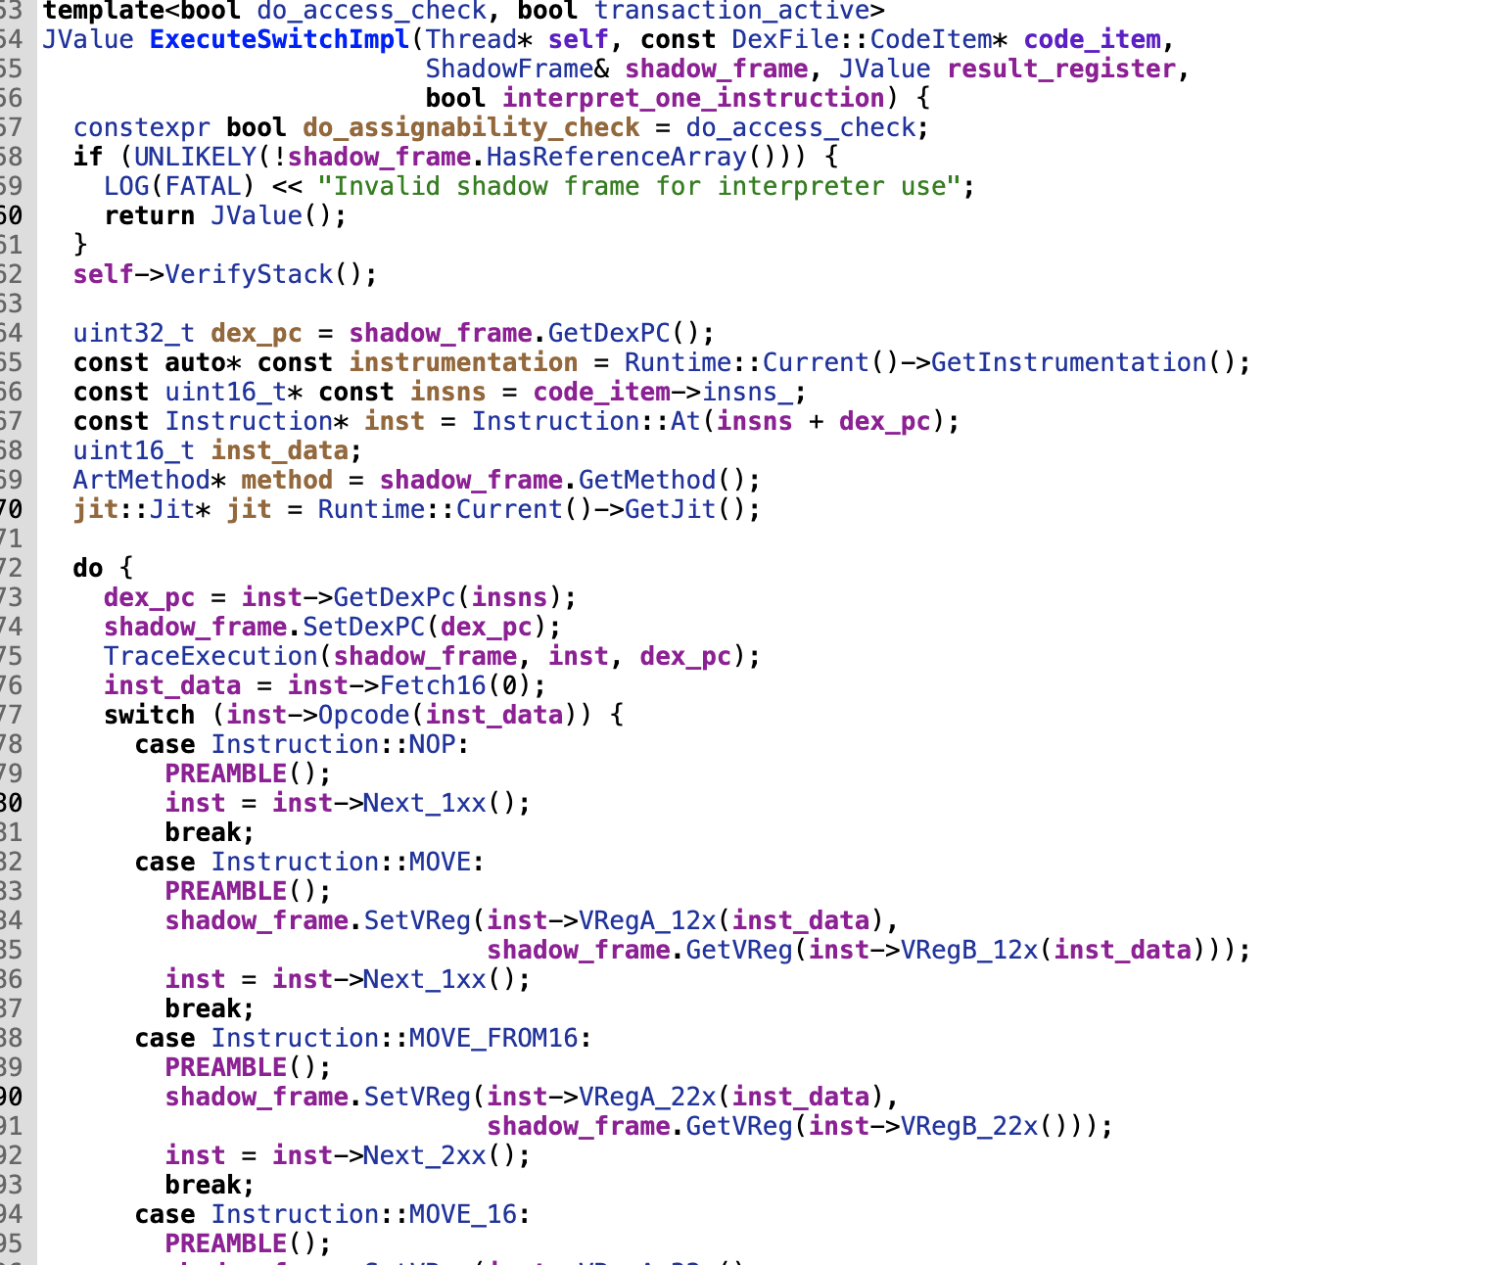
只不过他是默认不打印,打印很耗费资源。
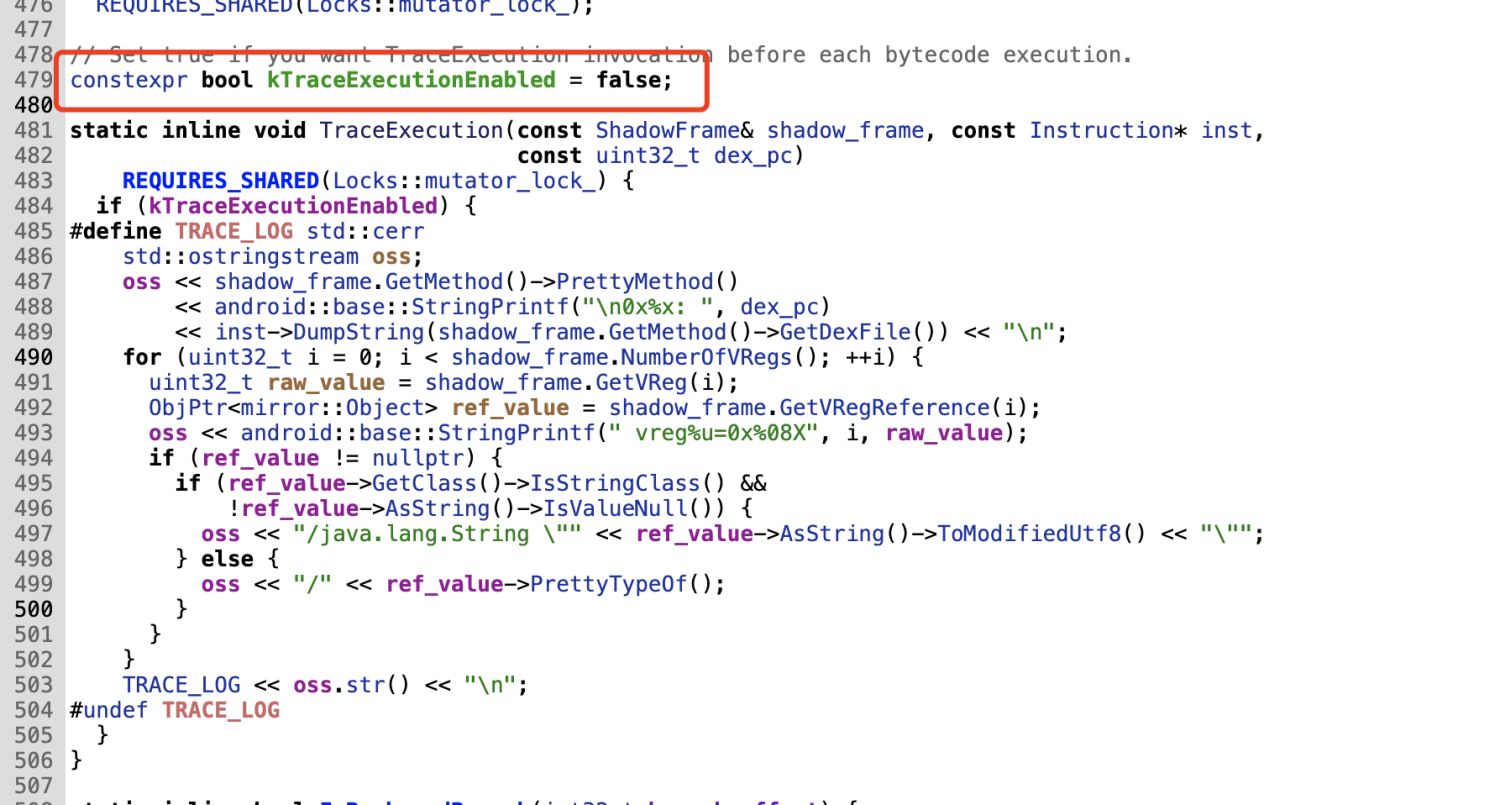
修改源码
在 /art/runtime/instrumentation.h 中修改,强制走解释模式:
  // Called by ArtMethod::Invoke to determine dispatch mechanism.
bool InterpretOnly() const {
  return interpret_only_;
}

bool IsForcedInterpretOnly() const {
  return forced_interpret_only_;
}

//改为
bool InterpretOnly() const {
  return true;
}

bool IsForcedInterpretOnly() const {
  return true;
}
在 /art/runtime/interpreter/interpreter.cc 中修改,使用switch模式:
enum InterpreterImplKind {
  kSwitchImplKind,        // Switch-based interpreter implementation.
  kMterpImplKind          // Assembly interpreter
};

//static constexpr InterpreterImplKind kInterpreterImplKind = kMterpImplKind;
static constexpr InterpreterImplKind kInterpreterImplKind = kSwitchImplKind;
在art/runtime/interpreter/interpreter_common.h 中修改,增加函数。
static inline void myTraceExecution(const ShadowFrame& shadow_frame, const Instruction* inst,
                                  const uint32_t dex_pc)
    REQUIRES_SHARED(Locks::mutator_lock_) {
    std::ostringstream oss;
    oss << "[FuncName] " << shadow_frame.GetMethod()->PrettyMethod() << "\t"
        << android::base::StringPrintf("[Address] 0x%x: ", dex_pc)
        << inst->DumpString(shadow_frame.GetMethod()->GetDexFile()) << "\t[Regs]";
    for (uint32_t i = 0; i < shadow_frame.NumberOfVRegs(); ++i) {
        uint32_t raw_value = shadow_frame.GetVReg(i);
        ObjPtr<mirror::Object> ref_value = shadow_frame.GetVRegReference(i);
        oss << android::base::StringPrintf(" vreg%u=0x%08X", i, raw_value);
        if (ref_value != nullptr) {
            if (ref_value->GetClass()->IsStringClass() &&
                !ref_value->AsString()->IsValueNull()) {
                oss << "/java.lang.String \"" << ref_value->AsString()->ToModifiedUtf8() << "\"";
            } else {
                oss << "/" << ref_value->PrettyTypeOf();
            }
        }
    }

    LOG(ERROR) << oss.str().c_str();
}
在interpreter_switch_impl.cc 中修改也加个判断。
  bool enableTrace = false;
  if(strstr(method->PrettyMethod().c_str(), "xxxxx")){
      enableTrace = true;
  }
  do {
    dex_pc = inst->GetDexPc(insns);
    shadow_frame.SetDexPC(dex_pc);

    //TraceExecution(shadow_frame, inst, dex_pc);
    if(enableTrace){
        myTraceExecution(shadow_frame, inst, dex_pc);
    }
然后编译刷机,在执行到包含xxxx方法时,会打印指令。

优化
这样有一点不好,换一个匹配需要重新刷机,优化一下,加个文件判断(APP需要开启读写权限)。
  bool enableTrace = false;
  char traceFilePath[64] = {0};
  char contents[64] = {0};
  int result12 = 0;
  int ftraceline = -1;
  sprintf(traceFilePath,"/sdcard/trace.txt");
  ftraceline = open(traceFilePath, O_RDONLY, 0644);
  if(ftraceline>0){
      result12 = read(ftraceline, contents, 64);
      if(result12<0){
          LOG(ERROR) << "fukuyamatrace123 open trace error!";
      }
      close(ftraceline);
  }
  if(contents[0]){
//      LOG(ERROR) << "fukuyamatrace123 "<< contents;
    char* customString = (char*)malloc(result12-1);
    strncpy(customString, contents, result12-1);
      if(strstr(method->PrettyMethod().c_str(), customString)){
//          LOG(ERROR) << "fukuyamatrace123 " << "func now:" << method->PrettyMethod().c_str() <<" trace func:" << contents;
          enableTrace = true;
      }
      free(customString);
  }
在后面刷机就不演示了。
总结
学习了art下方法执行解释流程,打印smali指令,用笨方法替代了无法hook的问题。
