
The first step to work in the IT field today is to set up a laboratory. EVE-NG (formerly UNetLab) can be used for network, network security, and automation labs.
EVE-NG is based on Ubuntu Linux 20.04 LTS and is therefore an excellent exercise to learn how to install and customize a Linux environment entirely from the command line. Installing EVE-NG is simplified compared to a normal EVE-NG installation, but it’s a great starting point. Furthermore, our goal is to learn how to manage a Linux system, whatever it may be; therefore, we are not interested in focusing on the specific installation of various distributions unless in special cases.
Resources
The resources required for our EVE-NG installation will increase as we build increasingly complex labs. We will start with:
- 4 CPUs
- 8GB of RAM
- 50GB of disk space
EVE-NG can be installed directly on dedicated hardware (laptop, desktop, server) or on a virtual machine. Initially, using a virtual machine is sufficient, but as resources grow, dedicated hardware will be necessary.
The article continues assuming the installation of EVE-NG via the Community Edition ISO file, downloadable from the official page.
Creating the virtual machine on VMware vSphere
To begin, my advice is to use the VMware suite, choosing between VMware vSphere (if your company can allocate resources for it) or VMware Workstation Player (if your computer runs on Microsoft Windows). Simpler labs can be run on Amazon AWS, Microsoft Azure, or Google GCE virtual machines, but I would discourage this option due to costs: labs will often be running, consuming many resources, and some may simply not work on these platforms.
If your computer is based on Apple Silicon processors, it will not be possible to run the lab locally. This is because most labs require running x86 code natively: virtualization systems would run this code in emulation and thus be too slow.
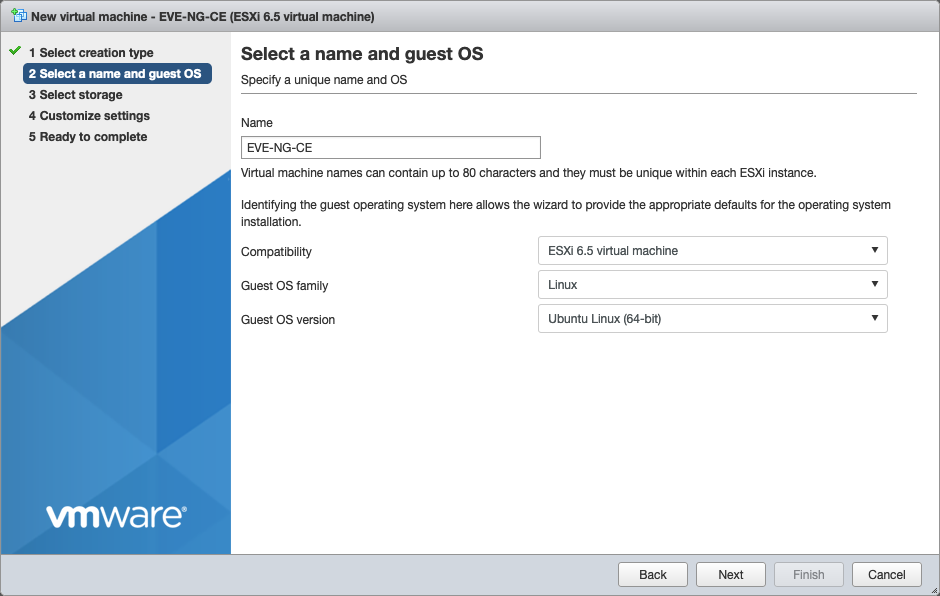
Connect to our vCenter or directly to our ESXi host and create the EVE-NG-CE virtual machine:
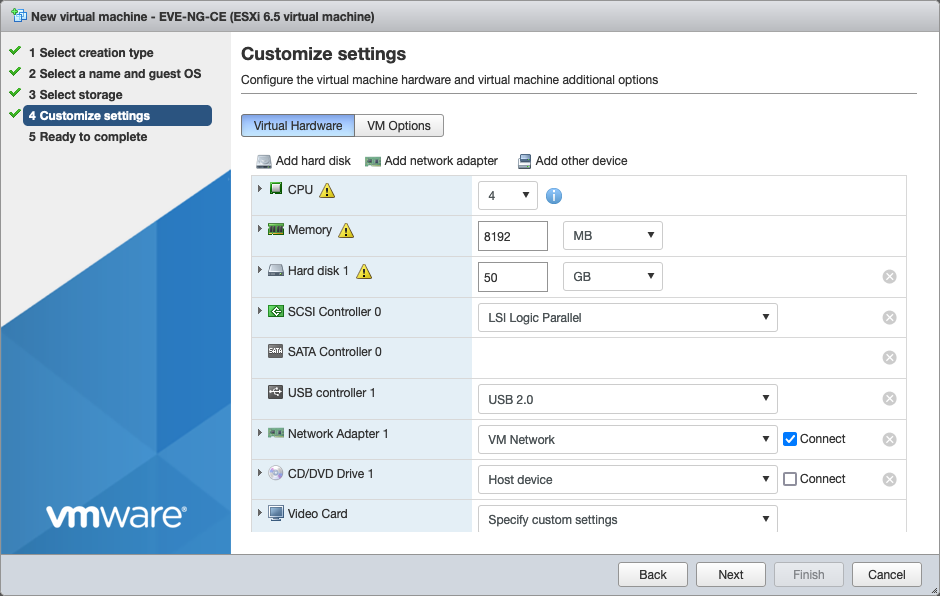
Assign resources (CPU, RAM, disk, network adapter):
In my case, I previously copied the installation file to the ESXi server’s datastore; alternatively, you could map the CD/DVD drive of the virtual machine with a file residing on the desktop you are working from. This operation is feasible only if you are connected at high speed to your ESXi server’s network (and thus not over VPN).
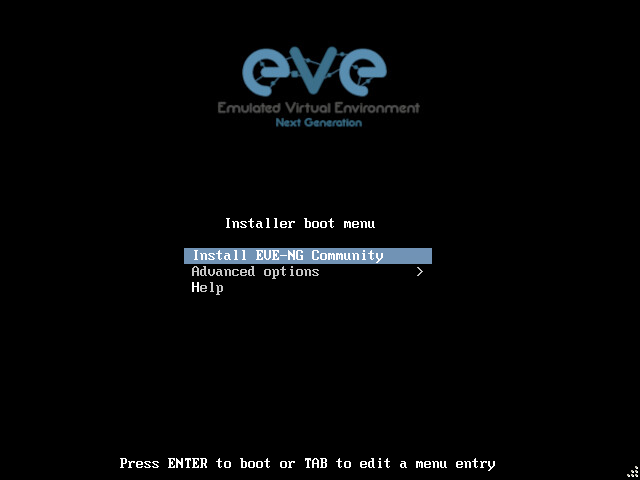
If everything has been set up correctly, the virtual machine should present the boot loader screen customized by EVE-NG upon boot:
Installing EVE-NG
Now let’s proceed with the installation of the Linux system customized by EVE-NG. The installation is very simple and, compared to a classic Linux installation, omits several steps. This is because EVE-NG has been industrialized to the point of resembling an appliance. For each configuration, we will make considerations that will help us define standards that are also valid in large and geographically distributed environments.
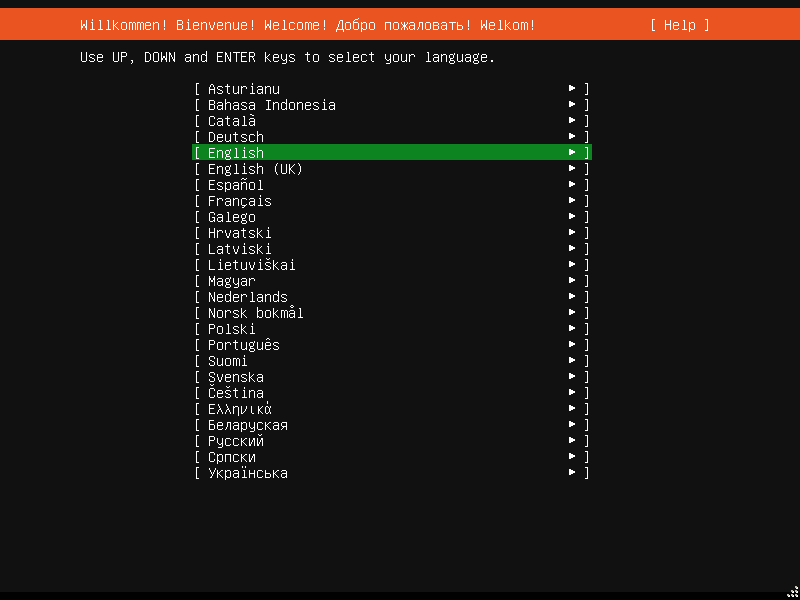
In an Enterprise context, my advice is to always set the language to English. Most utilities contain documentation in this language, and there is no reason to have a server system localized in a different language. Additionally, this forces us to become familiar with this language, which will be useful when searching for documentation.
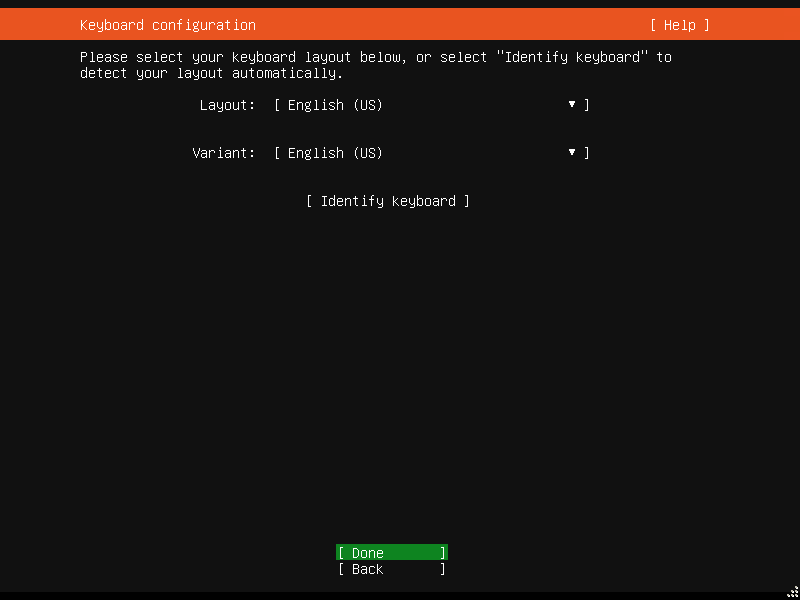
The keyboard should be configured correctly based on the connected hardware. While the choice is straightforward with a physical server, with a virtual machine, the keyboard depends on the client using it. An Enterprise with a team distributed over multiple geographic areas will probably want to standardize on a US keyboard: it’s a simple keyboard and fairly easy to remember.
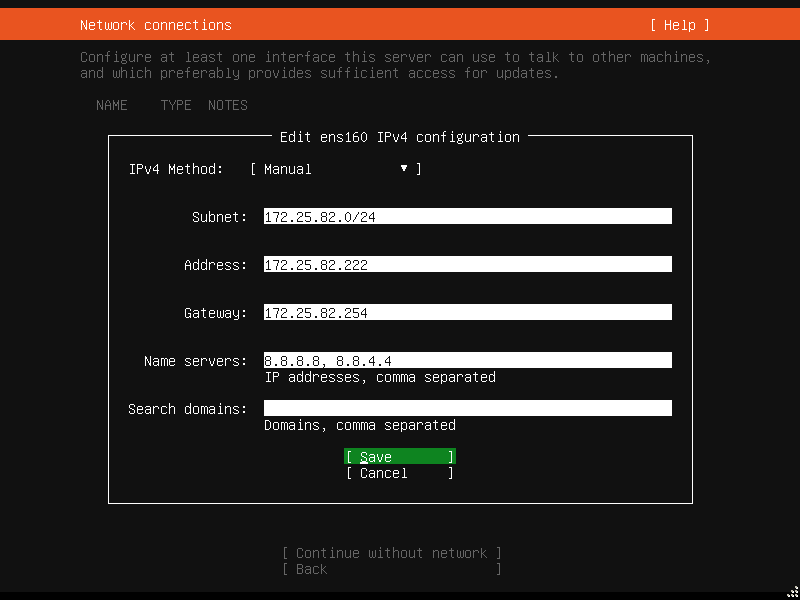
The next step is to configure the network interface. In many cases, the automatic option (DHCP) is correct, but in other cases, especially in an Enterprise environment, we may need to configure it statically.
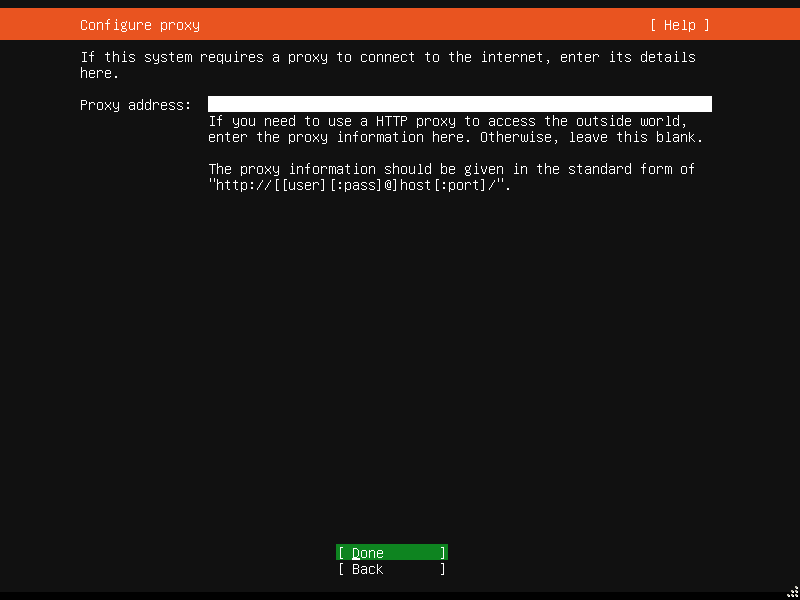
Another question concerns the use of local proxy systems, which allow optimizing multiple installations of the same system. While this type of system was once very common, today, thanks to the abundance of fast Internet connectivity, they are much rarer.
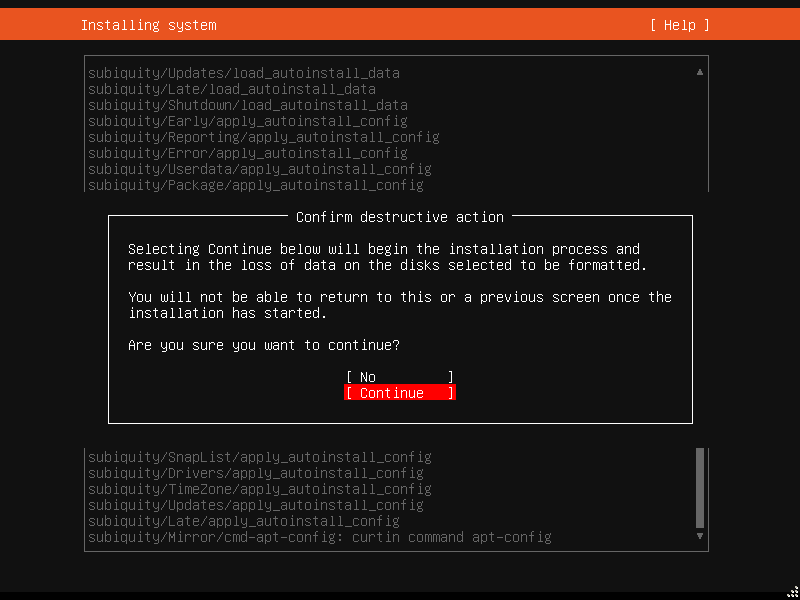
After the final confirmation, the installation system will proceed to erase the disk content, overwriting it with the installed system.
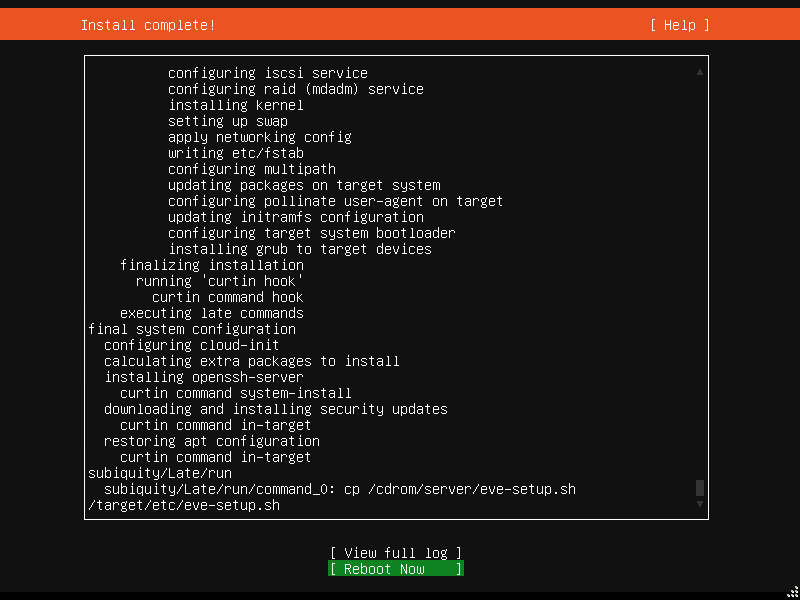
Once the installation is complete, the system needs to be rebooted:
Accessing EVE-NG
Once the system has rebooted, we can access our EVE-NG installation via a browser and SSH.
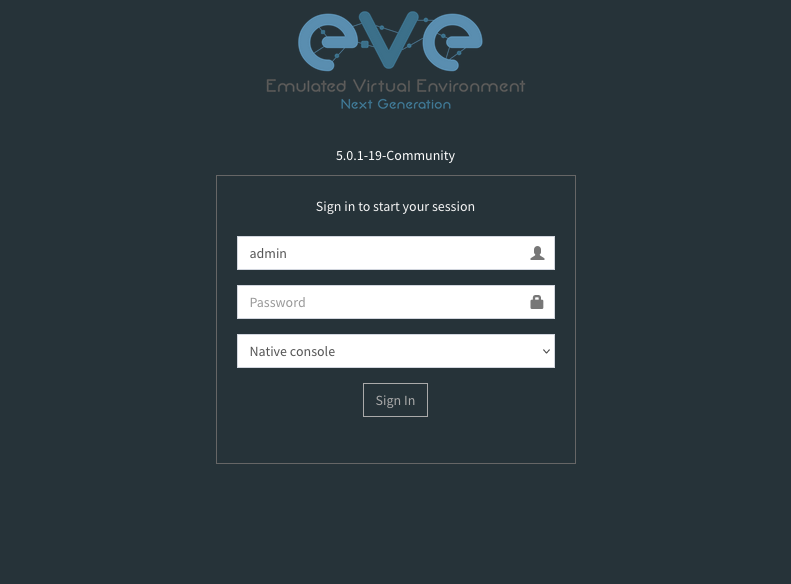
By default, the credentials are:
- Web access: URL:
http://172.25.82.222, username:admin, password:eve - SSH access: IP:
172.25.82.222, username:root, password:eve
Upon the first SSH access, we will be prompted to:
- Change the password to a more secure one;
- Set the machine’s hostname (let’s keep it
eve-ng); - Set the machine’s domain (let’s keep it
example.com); - Assign the management IP address (enter the information used during installation again);
- Enter the NTP server to maintain time synchronization (we can use
europe.pool.ntp.org).
After a second reboot, the machine will be ready to use.
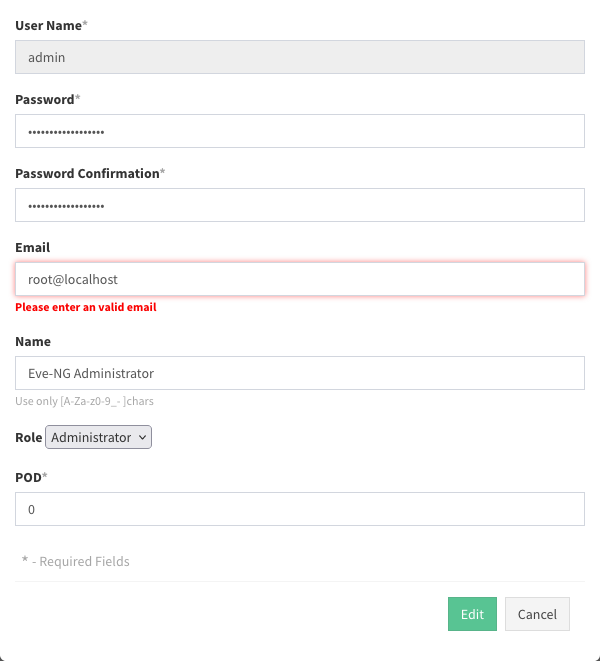
For security, remember to change the web user’s password to a more secure one. This can be done by logging in via the browser and clicking on the username in the top right corner:
References
如有侵权请联系:admin#unsafe.sh