
SpiderFoot is a tool for gathering Open Source Intelligence (OSINT) and threat intelligence about IPs, domains, e-mail addresses, and other research targets from many data sources, including services such as Shodan and Have I Been Pwned. Steve Micallef, the tool’s author, offers a free, open source version of SpiderFoot. His team also provides an affordable commercial SaaS version, SpiderFoot HX, which you don’t need to host and which offers additional functionality.
Getting to Know SpiderFoot
SpiderFoot’s website explains that this tool “automates OSINT collection so that you can focus on analysis.” Your target could be a potentially malicious entity that you’re investigating. It could also be your own or your client’s organization whose attack surface you’re assessing. The tool’s documentation explains that SpiderFoot can gather details such as Whois, web pages, DNS, “spam blacklists, file meta data, threat intelligence lists,” and more.
I decided to set up the free SpiderFoot version on my own to better understand the nature of this tool. To do this, I deployed SpiderFoot in DigitalOcean (the link includes my referral code). I used this public cloud provider because it offers VMs for as little as $5 per month; also, I find it easier to use than the competing services.
Creating a DigitalOcean VM for SpiderFoot
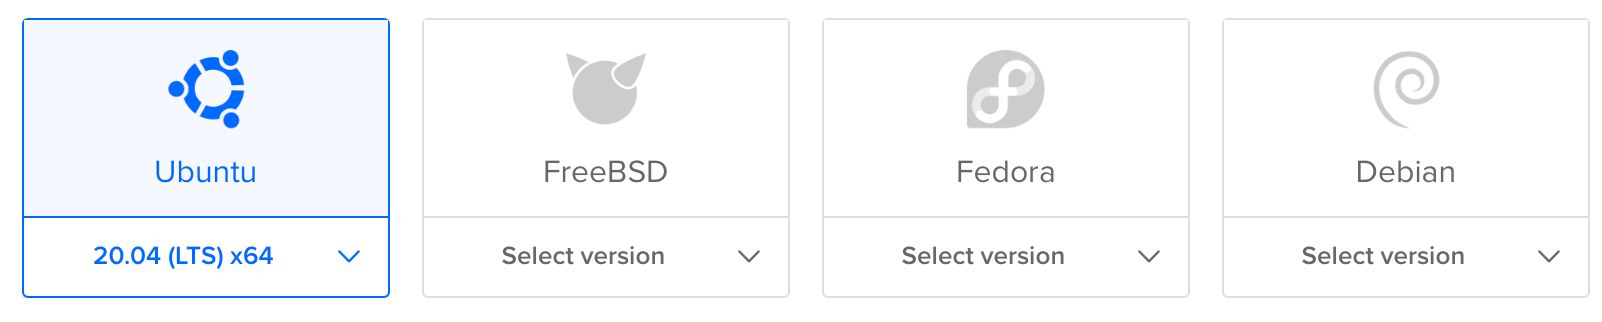
To create a virtual machine for SpiderFoot in a public cloud you can create a “droplet” on DigitalOcean. I used Ubuntu, though you can select another distro if you prefer. Click the dropdown button below the Ubuntu icon on the DigitalOcean “Create Droplets” page, then select an 18.04 x64 option.
Accepting default options for the droplet should be OK in most cases. Choosing the least expensive size will allow you to start exploring SpiderFoot, but will not be sufficient for running multiple simultaneous scans. Select the geographic region where the VM will run based on your requirements. Assign a hostname that appeals to you.
Once the new VM is active, make a note of the public IP address that DigitalOcean assigns to it and log into it using SSH. Then run the following commands inside your Ubuntu VM to update the OS and install SpiderFoot’s core dependencies:
apt-get -y update
apt-get -y upgrade
apt-get -y install python3-pip
Reboot the VM. You should harden the configuration of your VM at some point, but these steps are outside the scope of this guide.
Installing SpiderFoot Software
Download the latest SpiderFoot server software (I used the dev version) to your VM and install the prerequisites:
git clone https://github.com/smicallef/spiderfoot.git
cd spiderfoot
pip3 install -r requirements.txt
Define a username and password you’ll use to log into the SpiderFoot browser interface using basic auth. Watch out: If you don’t do this, the tool will not require any authentication:
echo "myuser:My945^PassWass" > passwd
Launching SpiderFoot as a Web App
You can now start the SpiderFoot tool as a web application. If you’re planning to connect to it over the internet, run the following command to direct the tool to listen on all network interfaces on TCP port 80:
python3 sf.py -l 0.0.0.0:80
Note that if you launch SpiderFoot using the command above, its process will terminate when you close your SSH session. To avoid this, you could run the process in the background like this:
nohup python3 sf.py -l 0.0.0.0:80 &
Running an internet-accessible application is risky. You can select a port other than 80 to add a bit of security through obscurity. You can also enable TLS for to switch from HTTP to HTTPS connections. You can listen only on localhost and tunnel your connections to the server over SSH (much safer). For these and other options, which include running SpiderFoot as a command-line tool, review its documentation.
Running Your Initial Scans
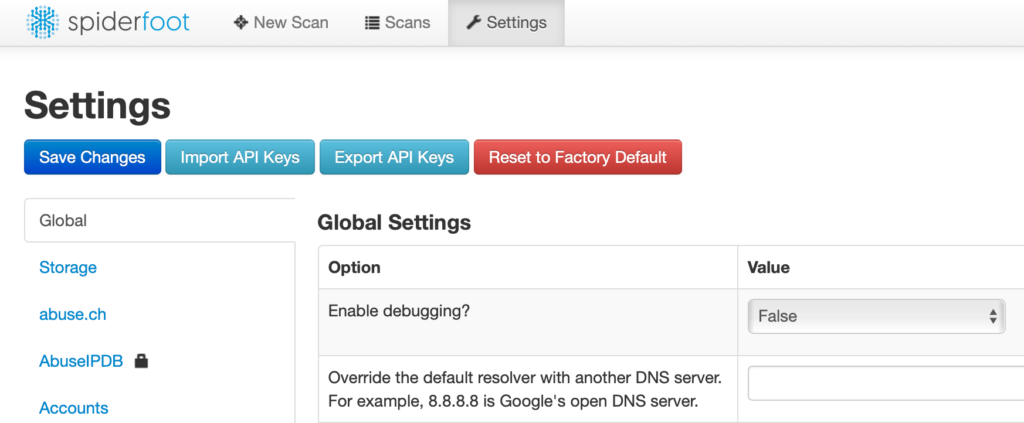
Once you’ve accessed the SpiderFoot web app using your browser, go to the Settings tab to add API keys to at least some of the services that have a lock icon next to their name. SpiderFoot can query some data sources without keys; others, such as Google, BuiltWith, Censys, Have I Been Pwned, etc. require that you specify an API key.
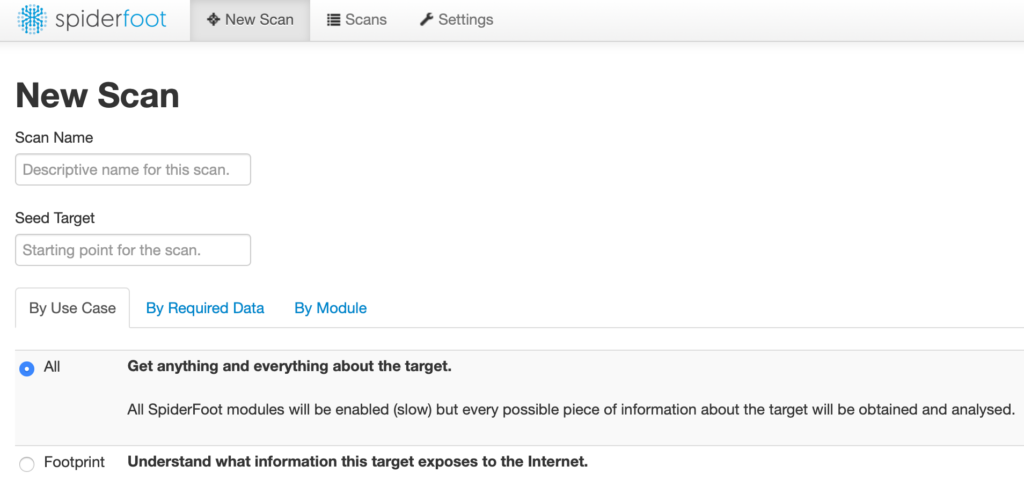
Once you’ve added the API keys, you can start your first scan by going to the New Scan tab as shown below. In the Seed Target box, you can specify domain names, email addresses, subnets, IPs, or another data type that you’d like to use as the starting point for your investigation.
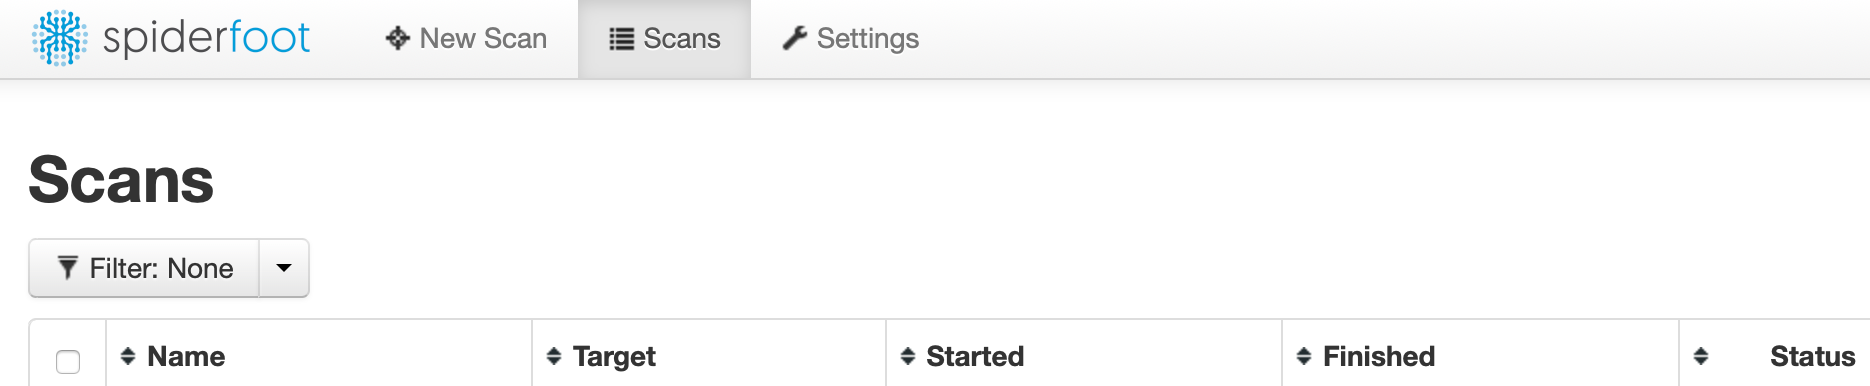
You can keep an eye on your scans and look at their results from the Scans tab. For instance, below is the summary of the results of the scan I performed by starting with an email address:

For more details about SpiderFoot capabilities, see its website. There, you’ll find useful tips for using and configuring the tool, including the steps for relaying your queries through Tor.
Updated April 16, 2020
Sign up for my newsletter if you'd like to receive a note from me whenever I publish an article or embark on a project. This doesn't happen often, so I won't overwhelm you with updates.
About the Author
Lenny Zeltser develops teams, products, and programs that use information security to achieve business results. He is presently the CISO at Axonius and an author and instructor at SANS Institute. Over the past two decades, Lenny has been leading efforts to establish resilient security practices and solve hard security problems. As a respected author and speaker, he has been advancing cybersecurity tradecraft and contributing to the community. His insights build upon 20 years of real-world experiences, a Computer Science degree from the University of Pennsylvania, and an MBA degree from MIT Sloan.